


Installation
Install SerKal Desktop and complete the initial setup.
From the first installation to a useful series archive: these are the steps a new SerKal user actually needs.
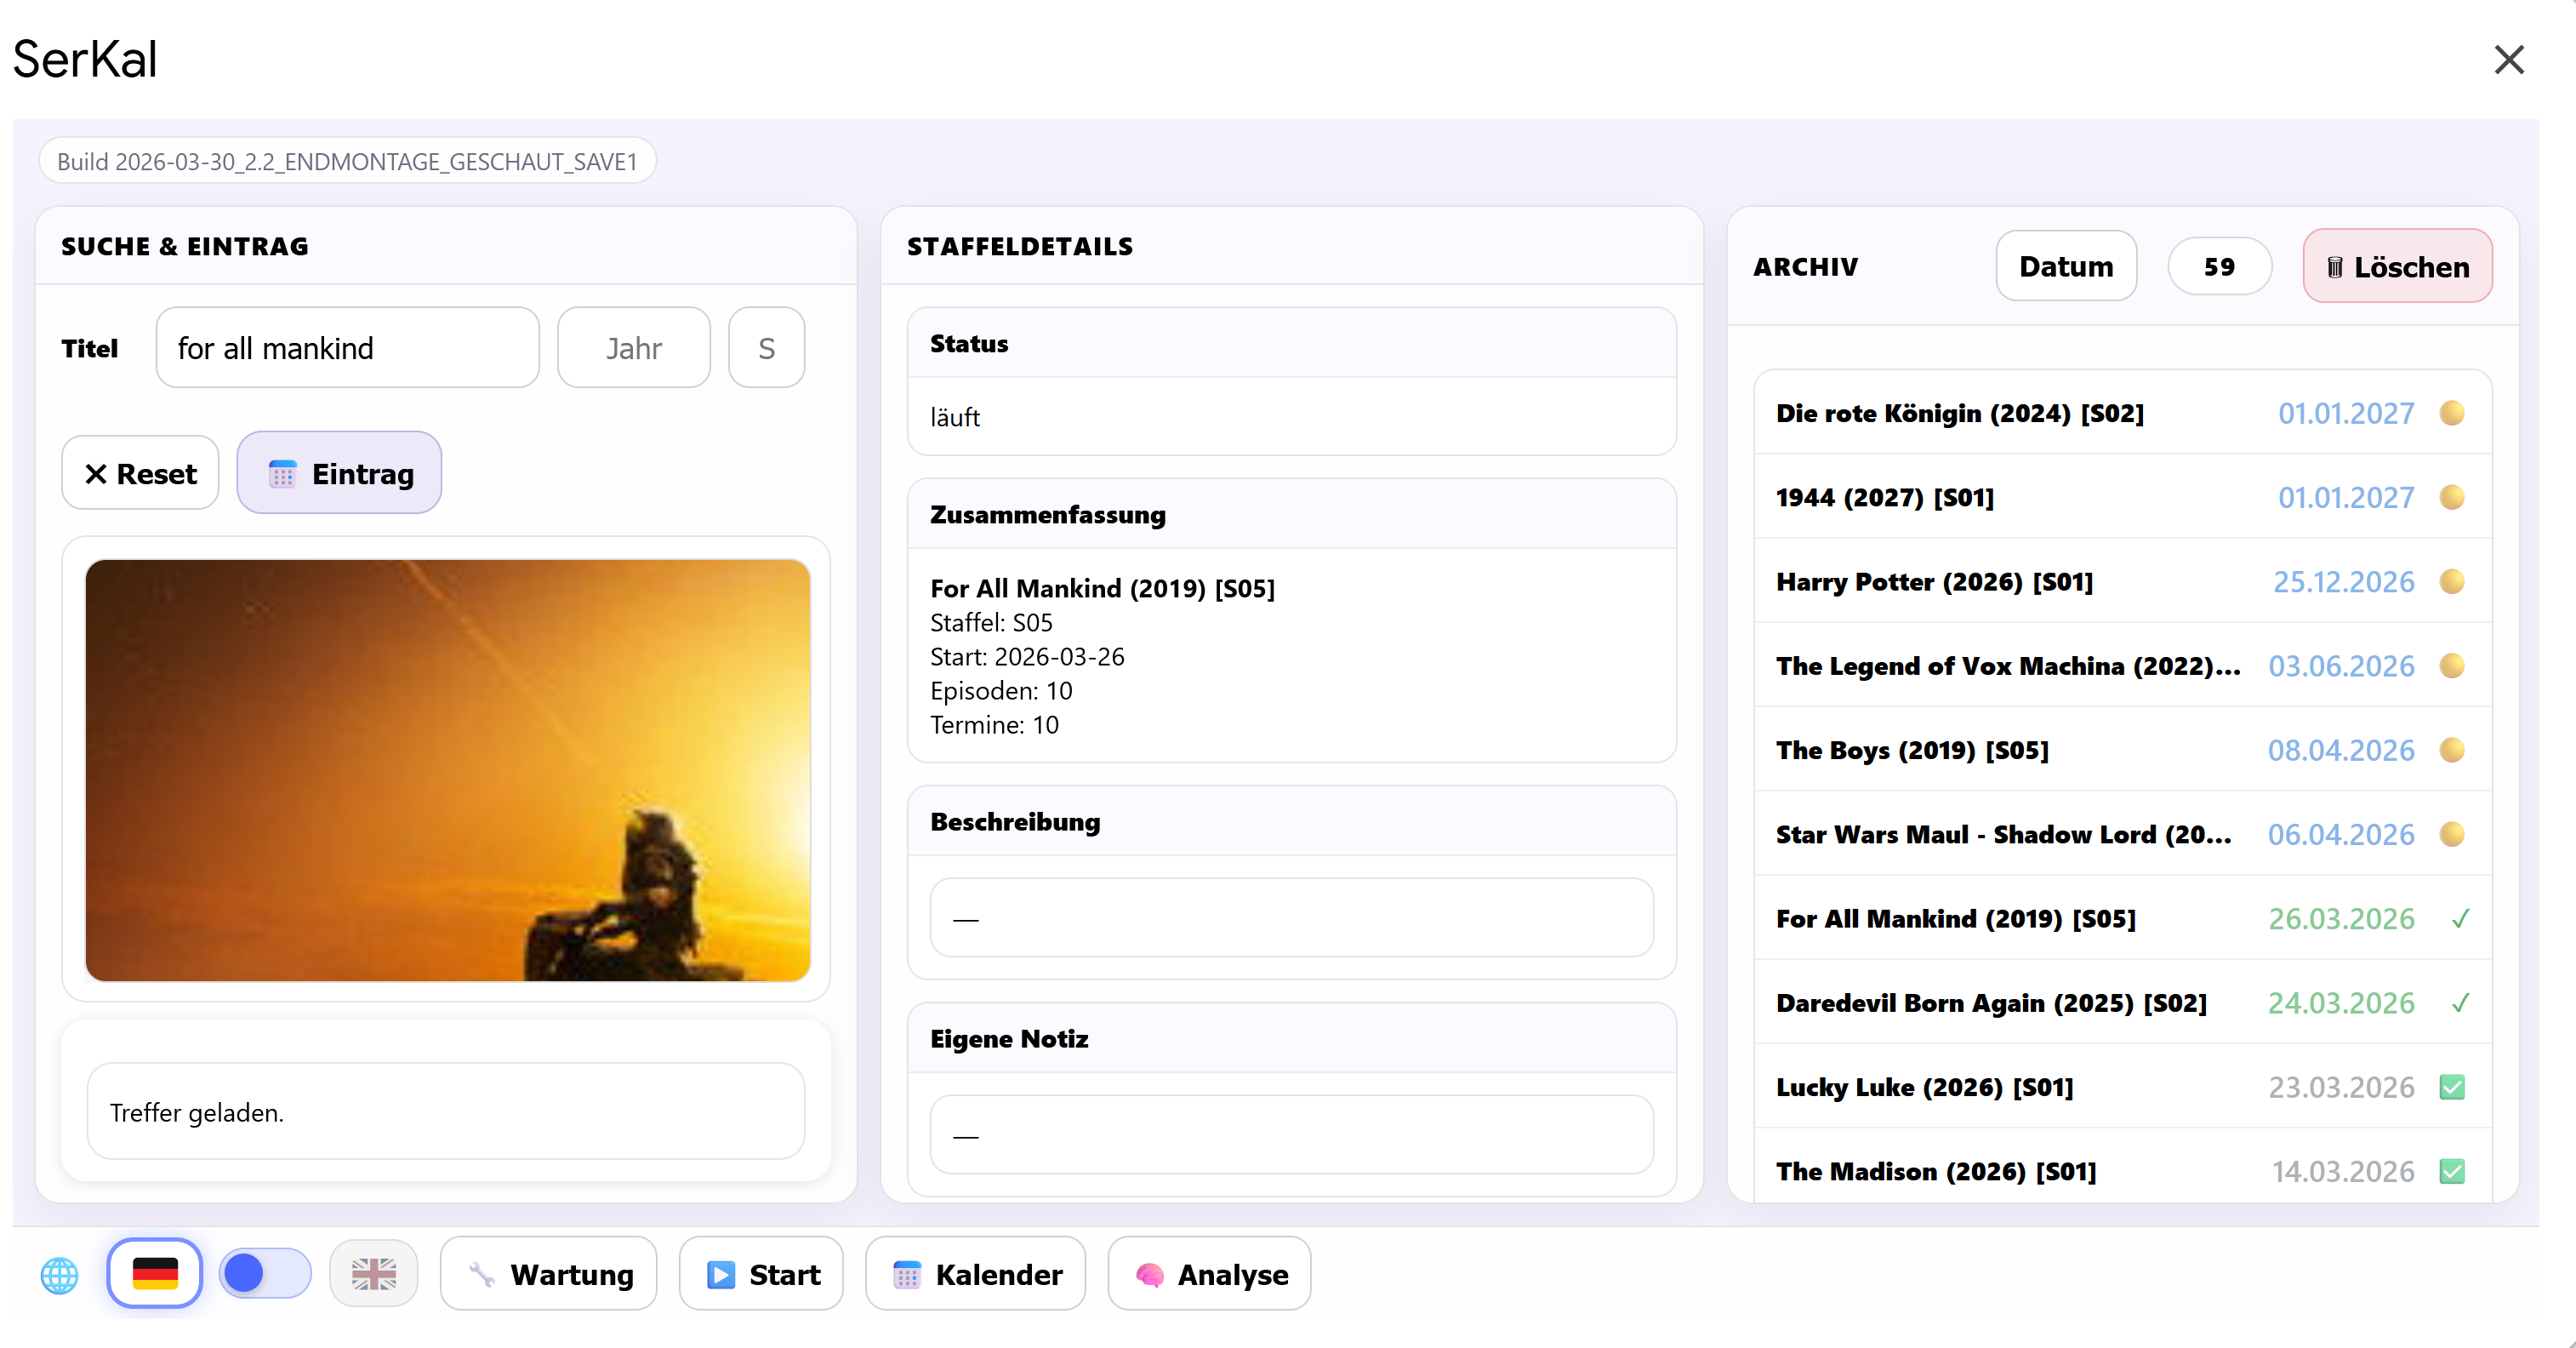
Install SerKal Desktop and complete the initial setup.
Create your TMDB account and personal API key, then enter it in SerKal.
Read the current access information and learn what happens when a calendar entry is created.
Answers to common questions about SerKal Desktop.
The season can still be stored successfully in the local SerKal archive. Calendar access is a separate step. See the current Google Calendar information.